Identity / Connect Okta
Connect Okta
Install the Speakeasy integration from the Okta Integration Network so Speakeasy can read your Okta applications and their assignments with one read-only scope.
The Okta connection lets Speakeasy read the applications in your Okta org and each application’s assignments. It doesn’t read your Okta user or group directory. Speakeasy uses it to list your apps, suggest catalog MCP servers that match them, and check Okta setup for Enterprise Managed Auth. It is read-only: Speakeasy never changes anything in your Okta org, and this connection doesn’t sign anyone in or issue tokens.
This guide covers the Speakeasy integration in the Okta Integration Network (OIN), which authenticates with a client ID and client secret. If your Okta org doesn’t allow client-secret authentication, use a custom API Services app with a private key instead. See Connect Okta on the services page.
Prerequisites
Section titled “Prerequisites”- A Speakeasy organization and a Speakeasy user with the
org:adminscope, which the default Admin role holds. - An Okta administrator who can install API Service integrations and assign admin roles. A Super Administrator can do both.
- An Okta org URL ending in
.okta.com,.oktapreview.com,.okta-emea.com,.okta-gov.com, or.okta.mil. If your org uses a custom domain, enter its Okta address, such ashttps://example.okta.com, instead.
Supported features
Section titled “Supported features”- Read applications. Speakeasy lists the apps in your Okta org and shows them on the Applications tab, with each app’s sign-on method and status.
- Read app assignments. For each app, Speakeasy reads the app’s assignment list, which records the users and groups assigned to that app, and shows the counts on the Applications tab. This is part of the app’s data in Okta, so it needs no user or group scope.
- Suggest MCP servers. Speakeasy matches your apps against its MCP server catalog and suggests servers for the apps your organization already uses.
- Check Enterprise Managed Auth setup. The Cross App Access checklist uses the connection to check that the Okta side is set up.
The integration doesn’t support single sign-on, user provisioning, or any change to your Okta org.
Supported scopes
Section titled “Supported scopes”| Scope | Used to |
|---|---|
okta.apps.read | List applications and read each one’s assignments. |
Speakeasy doesn’t request okta.users.read or okta.groups.read.
Configuration steps
Section titled “Configuration steps”In Okta: install the integration
Section titled “In Okta: install the integration”- Sign in to the Okta Admin Console as an administrator.
- Go to Applications > API Service Integrations and select Add Integration.
- Select Speakeasy.
- Review the requested scope,
okta.apps.read, and select Install & Authorize. - Copy the Client ID and Client secret. Okta shows the client secret only once, so copy it before leaving the page.
If Speakeasy later reports that it can’t read your apps, open the Speakeasy integration’s Admin roles tab in Okta and assign the Application Administrator role for all apps and the Read-only Administrator role. Okta asks you to confirm your identity with multi-factor authentication first.
In Speakeasy: connect the integration
Section titled “In Speakeasy: connect the integration”- Open IDP and SSO > Identity providers and select Connect Okta.
- Enter your Okta org URL, such as
https://example.okta.com, and select Continue. You can also paste your Okta Admin Console address. - On the Setup tab, choose Okta Integration Network (client secret).
- Enter the Client ID (it starts with
0oa) and the Client secret from Okta, then select Submit and verify.
Speakeasy checks that the credentials work, that Okta granted okta.apps.read, and that it can read your apps. When the check passes, the Okta card shows Verified.
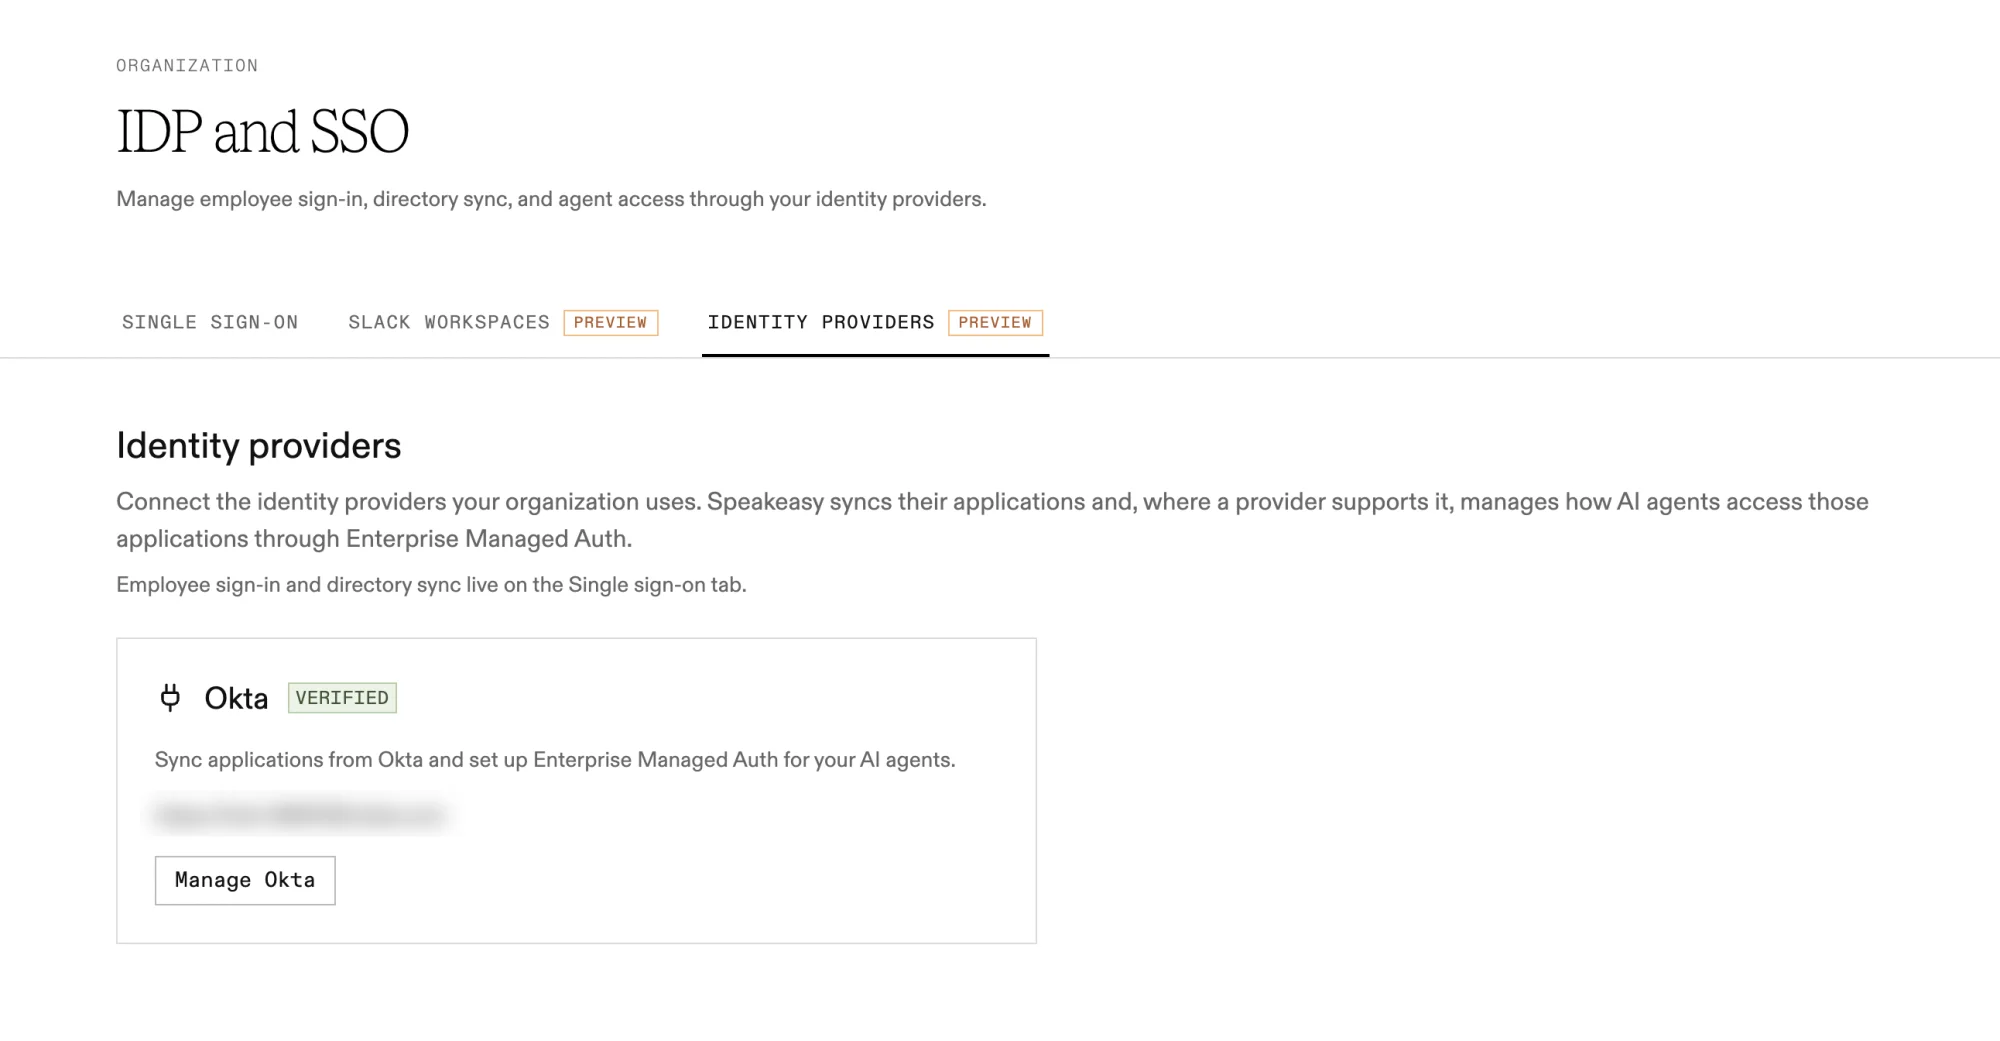
The client ID can be saved only once. To use a different integration, revoke the connection and connect again.
Check that it works
Section titled “Check that it works”- Select Manage Okta and open the Applications tab.
- Select Update now. When the update finishes, the tab lists your Okta apps, with the number of users and groups assigned to each.
- To confirm the data comes from Okta, assign a user or group to one of the apps in Okta, then select Update now again. That app’s Users or Groups count goes up.
Speakeasy also updates the list on a schedule, so changes in Okta show up without selecting Update now.
Remove the integration
Section titled “Remove the integration”- In Speakeasy, open the Okta Setup tab and select Revoke. Speakeasy deletes the stored client secret and stops reading from Okta.
- In Okta, go to Applications > API Service Integrations, open Speakeasy, and remove the integration.
Troubleshooting
Section titled “Troubleshooting”| Message | Fix |
|---|---|
| The org URL is not accepted | Enter the Okta address of your org, ending in one of the domains under Prerequisites |
| Okta rejected the client ID or client secret. | Copy both values again from the Speakeasy integration in Okta. Use its client ID, not an SSO app’s |
| Okta did not grant all required permissions (scopes). | Grant okta.apps.read on the integration’s Okta API Scopes tab in Okta, then select Re-verify |
| Check the app’s admin role in Okta. | Assign the admin roles in the callout under In Okta, then Re-verify |
| Speakeasy could not read applications from Okta. | Check the admin roles, then select Re-verify |
| Okta could not be reached during the last verification. | Check the org URL and try Re-verify again |
For help, contact Speakeasy support.