MCP Gateway / Build and deploy
Build and deploy
Learn how to build, test, and deploy Speakeasy Functions to production.
Deploying Speakeasy Functions is as simple as writing them. Deploying uploads the code to the platform and creates the tools it defines. Deployed functions appear on the Sources tab of MCP Gateway > MCP in the dashboard, ready to be hosted as MCP servers, combined with tools from other sources, and used in multi-tool workflows.
Access requirements
Section titled “Access requirements”Pushing functions requires the project:write scope on the project the gram CLI is authenticated against. Viewing the resulting source and deployment requires mcp:read and project:read. The default Admin role includes all of these.
Note
Functions do not need to be organized as a single MCP server. They are deployed as individual tools that can be split apart or combined into MCP servers in the dashboard.
To build the tools, run the following command:
npm run buildThis compiles the tools into a zip file that can be deployed to the platform.
Deploy
Section titled “Deploy”To deploy the tools, run the following command:
npm run pushThis uploads the bundle, creates a deployment, and generates the tools the functions define. The CLI prints a link to the deployment page, where the Logs, Assets, and Tools tabs show what was built. In the dashboard, the function source and the tools it created appear on the Sources tab of MCP Gateway > MCP.
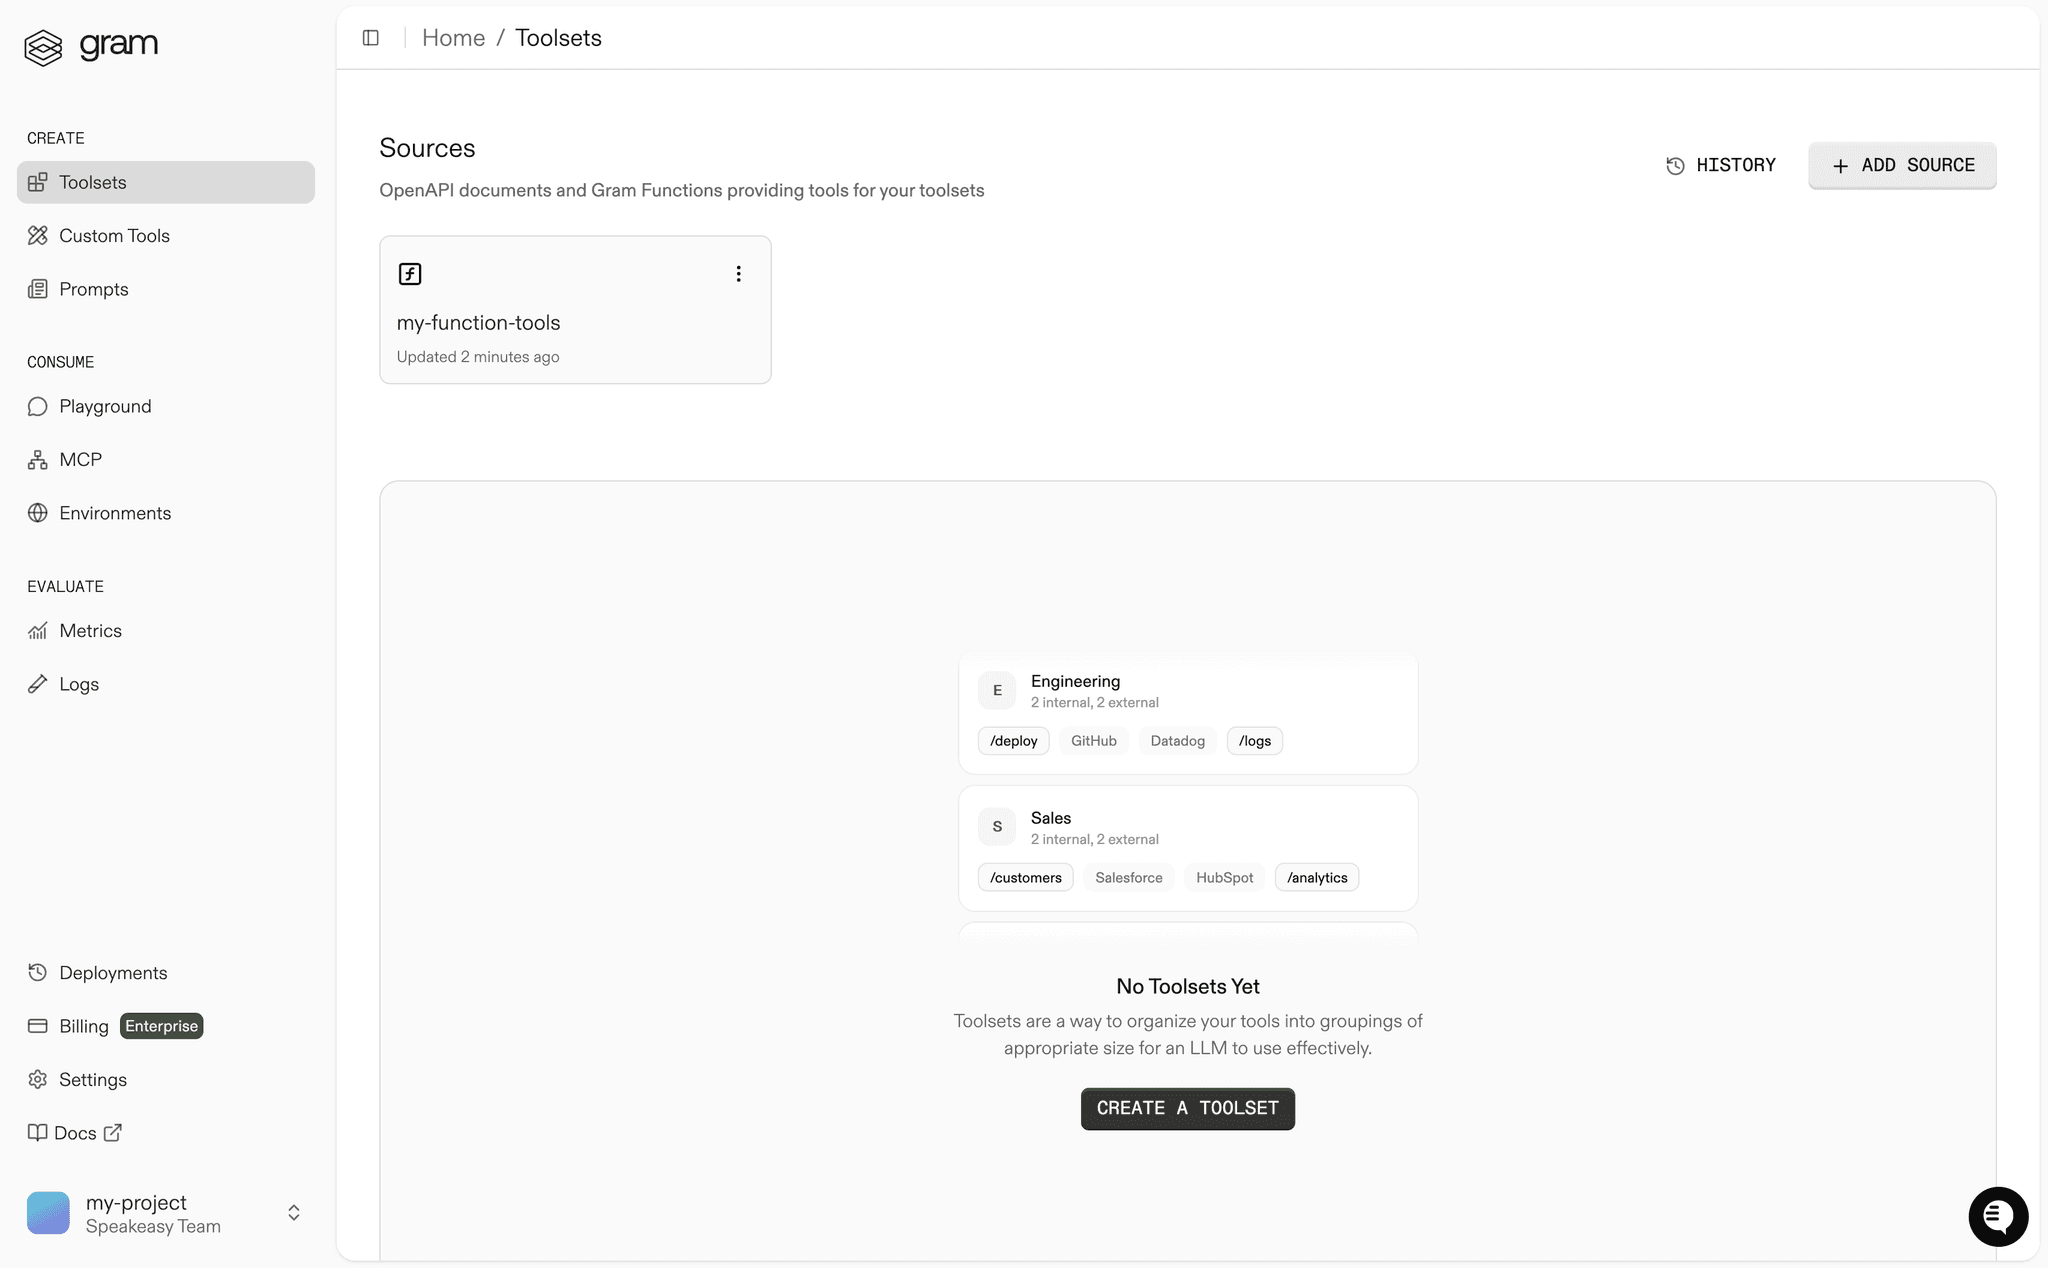
Every push deploys every source in the project together, so a failed push leaves the previous deployment active. The Deployments tab lists the history with Retry Deployment and Rollback actions.
Next steps
Section titled “Next steps”With the tools deployed, build an MCP server from them: open the function on the Sources tab and click Build a server, or choose Add new > From an existing source on the MCP page. See Tools on a server to choose which tools it exposes.